Libre Mechanics it’s an Open Knowledge project created to offer a useful platform of information related with the development and research of Mechanical Engineering themes and similar fields, higly related with the use of Open Source and Software Libre tools. Here you will find a wide variety of projects, publications and scientific material available as references for developing their own projects, also guides and tutorials that allow you to take advantage of free software tools available today.
Simple analog and digital control prototype using Arduino and Python
Building hardware interfaces for programs and robotic projects its always easy with Arduino, the communication capability of the board allows to send data directly to a computer or logic circuit with no need for complex custom electronic configurations. The prototype was created to test the following capabilities and characteristics for Arduino and Python working in together:
Arduino analog and digital read
Arduino Serial communication
Python Serial port reading
Python periferical control emulation
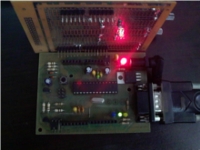
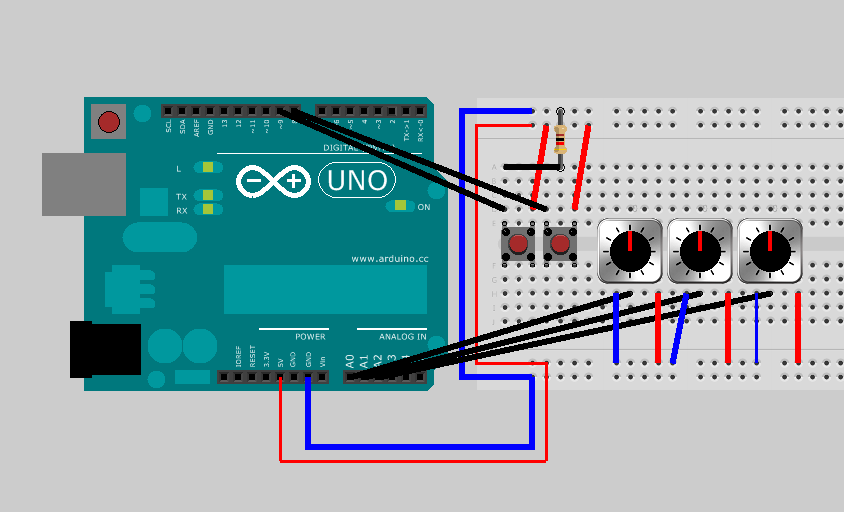
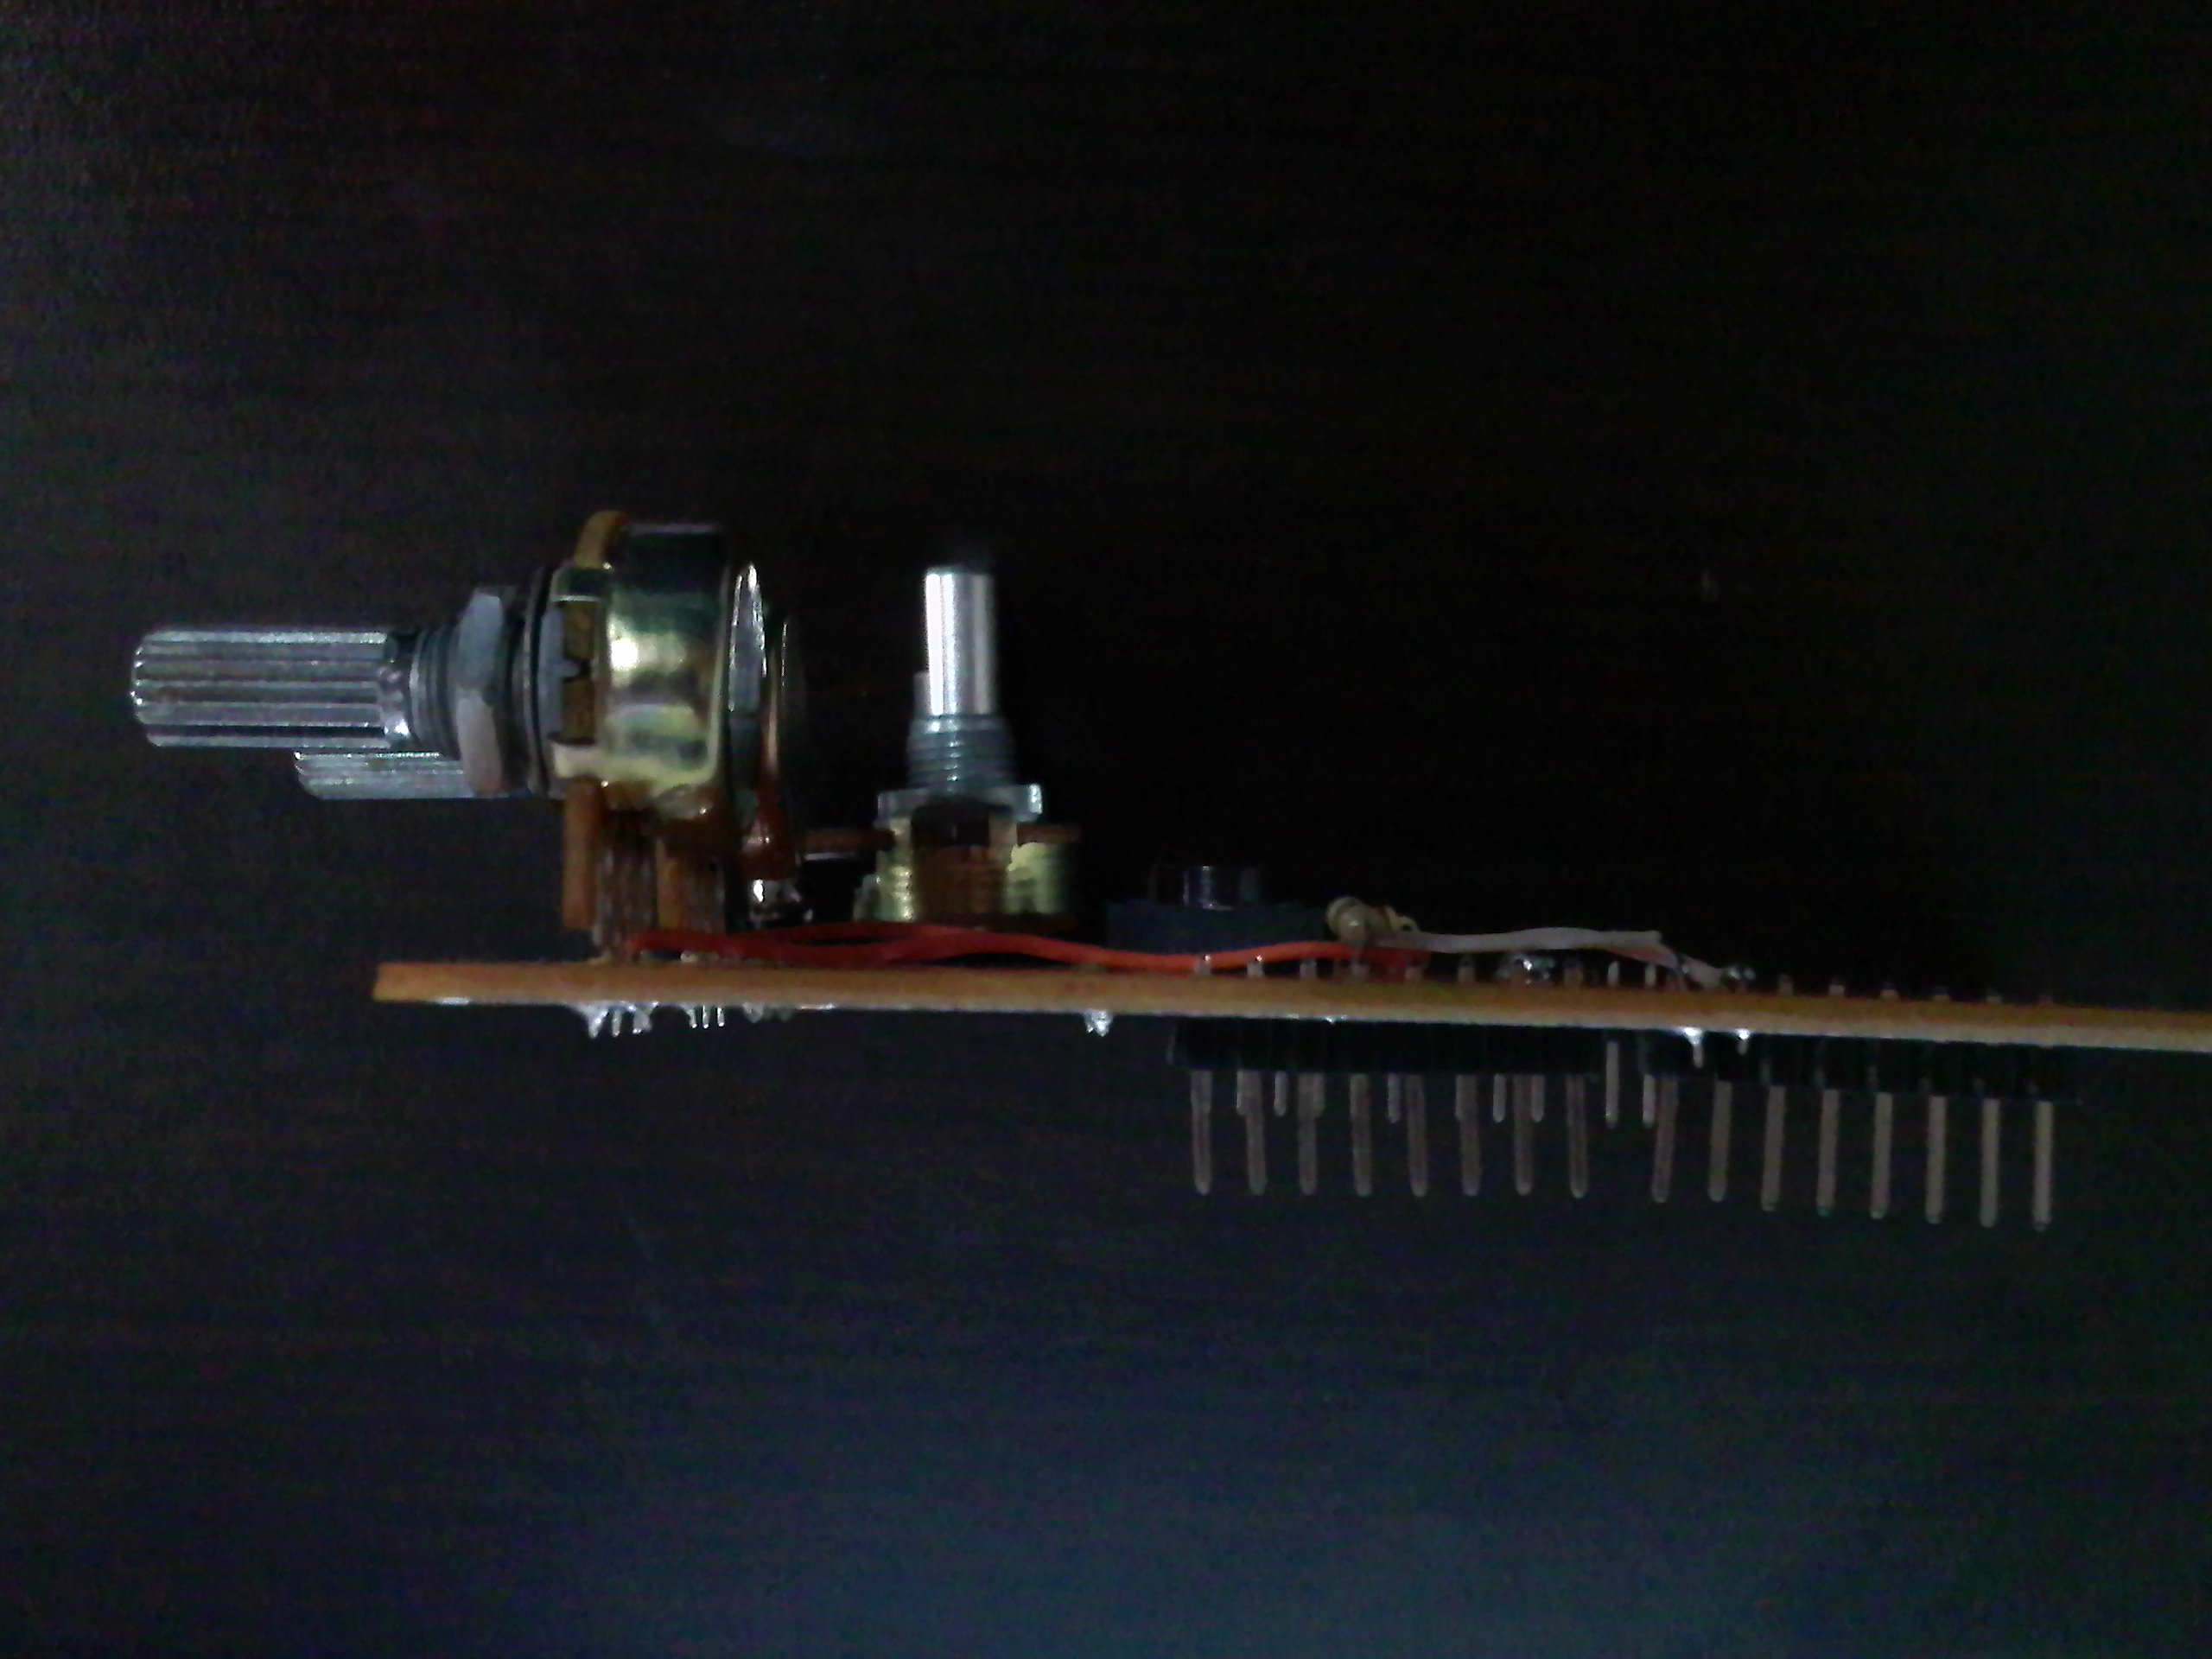
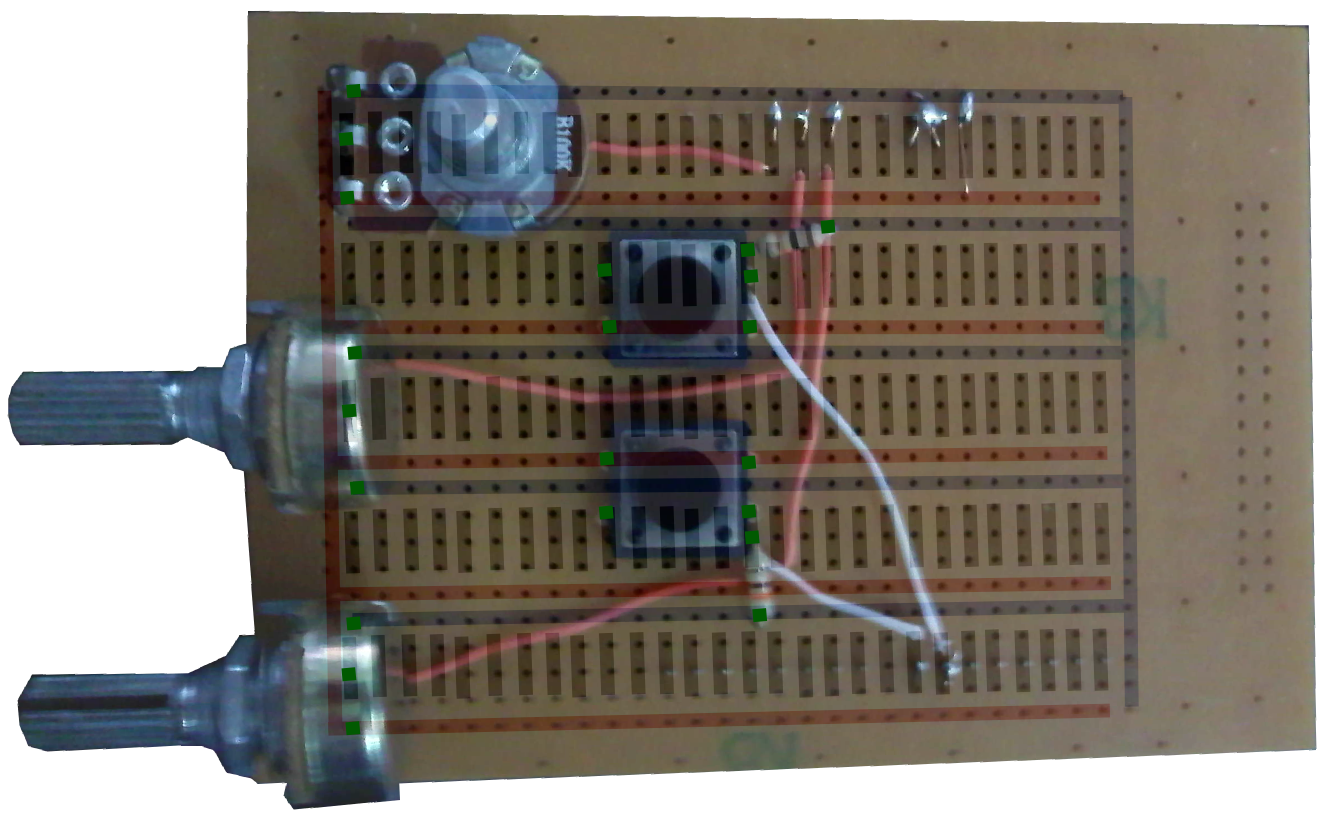
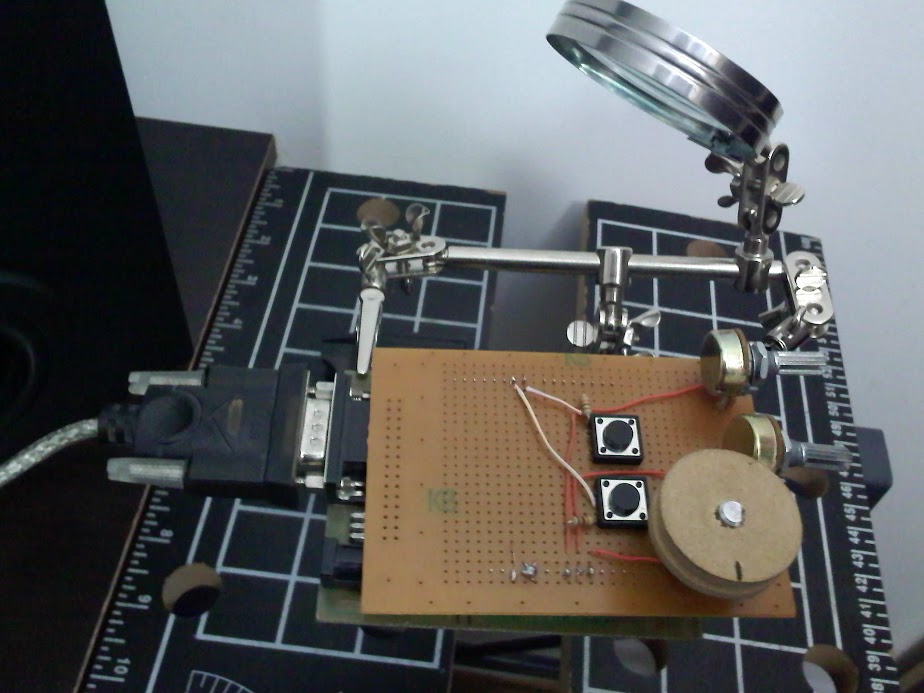
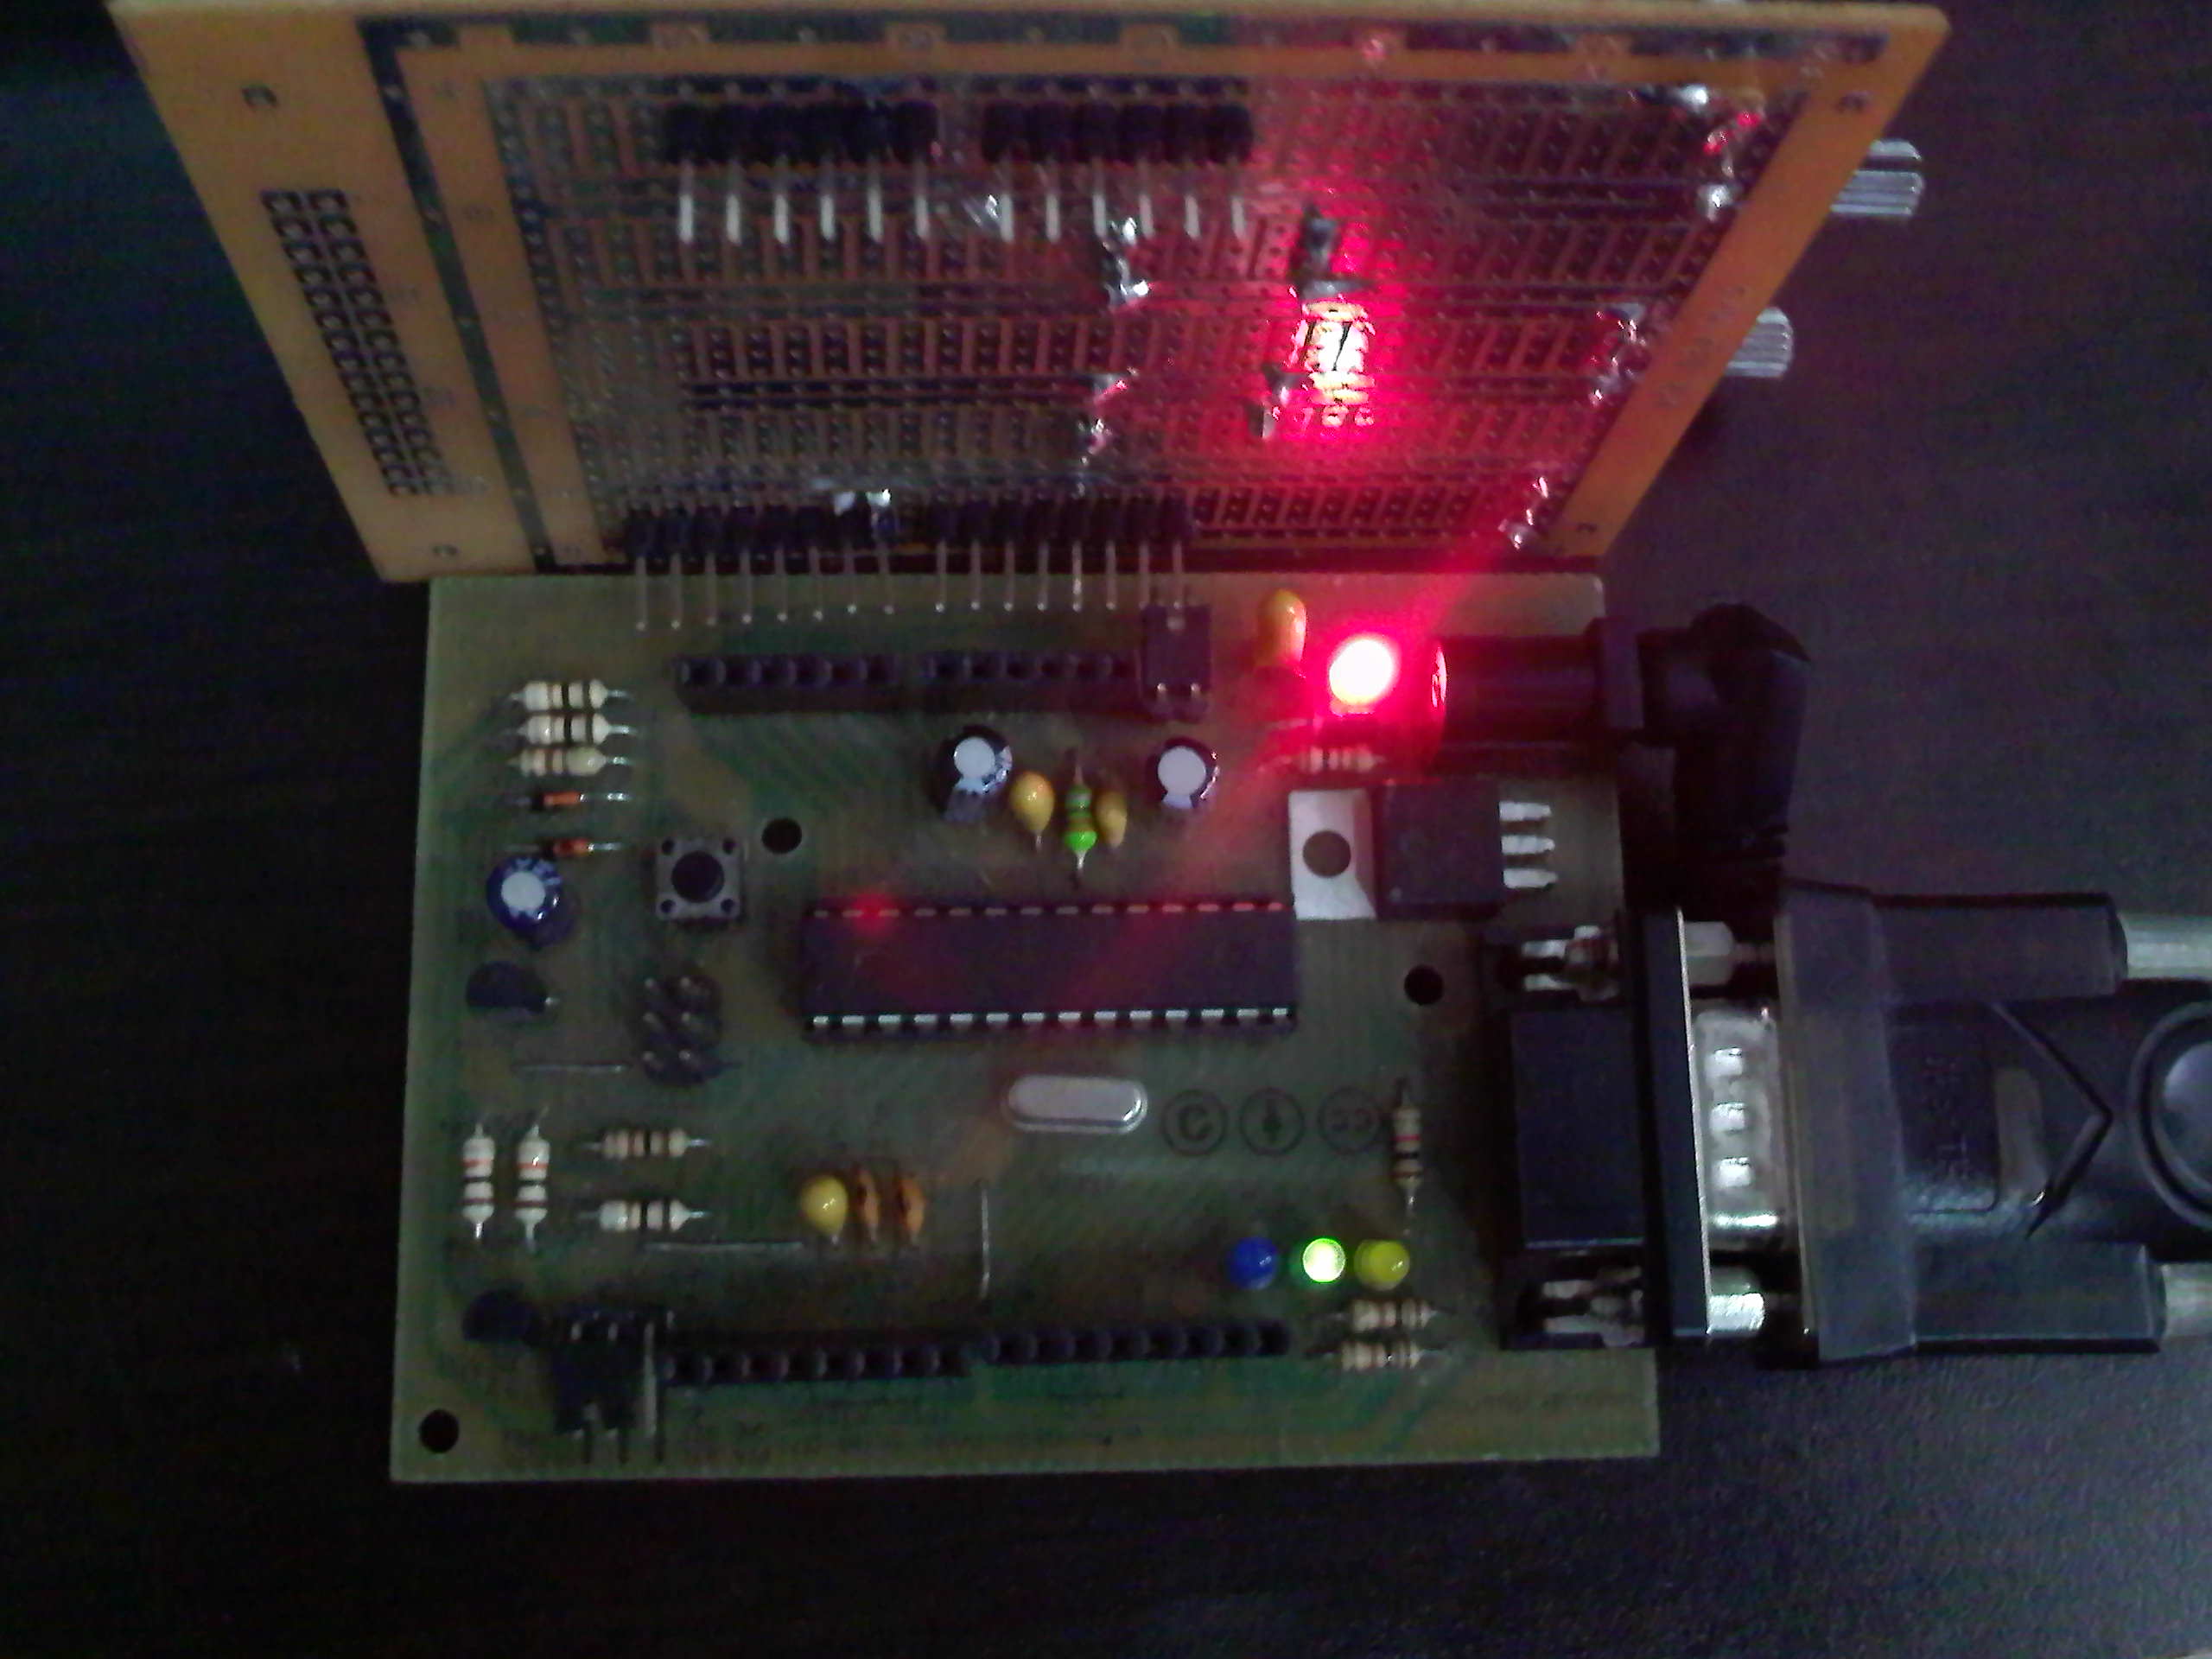
Creating a custom shield for the control make it a compact and easy prototype, avoiding the use of temporary connections on a breadboard and giving more extended life use; in this case the board used was a Arduino Serial ATMEGA8-16PU but the control and the concep explained are usable for any Arduino model which can be use a shield. The design is very simple yet effective to get signal from 3 potentiometers and 2 switches on the shield board, the potentiometers connected to the analog input pins A0-A1-A2 and the digital buttons to the 8-9 digital pins on the Arduino board, the communication its done by the serial connection of the board right to the computer USB port.
The finished shield goes on top of the Arduino board and it fits the female pins correctly, its powered by the 5 VDC and GND pins, the third potentiometer gets a handling wheel for easy use and the other two are oriented to side of the shield.
The Arduino code collect the digital and anlog data from de pins and then transmited to the seria port, the map funtion allows to allocate the output signal between known limits which makes easy the interpretation on Python; another important aspect its to avoid to overload the serial port comunication, in this case the three anlog signals consume too much “bandwith” on the comunication, this can be solved by reducing the time between counication adding delay funtions but even this way the comunication may get lag due the constant transmiting data.Adding a “change” parameter the board has the rule to send a package of information only when the input signal changes, this avoid the constant useless repetitive data, the board only write to the serial port when any potentiometer or butthon has change its state, but even there a tiny delay funtion must be used for cases where all the inputs change too fast at the same time.
The Python code first try to find any serial device connected to some known ports and then establish connection to get the data, it assign the whole data package to a single variable, the code form the Arduino board have an identifier between the analog data, which can change in length from 1 to 2 characters, this identifier its searched by the Python code to exactly know where a input ends and the other begins. Using the capability of Python to communicate directly to a system console any known command can be runned on the computer, in this case the program xdotool makes the trick of transfering the arduino serial data to events on the mouse and keyboard.
Arduino Code
Python Code
int firstpotentiometer = 0; int secondpotentiometer = 0; int thirdpotentiometer = 0; int buttonA = 0; int buttonB = 0; int change = 0; int l = 0;