This tutorial resume common steps to setup a basic connection for a Raspberry Pi board to the net using SSH, VNC and video streaming from a camera module. Most of this information is broadly available on the internet with this article being a review to easy and particular implementation.
Prepariong the Raspberry Pi
Basic setup:
- Raspberry Pi board.
- SD min 4Gb. Download Software
- Camera module with Flex Connector.
- Charcher or DC supply.
- Wi-Fi dongle or ethernet cable.
Here how to connect the camera module by James Adams (Raspberry Pi Fundation Video)
First boot and software instalation
It is highly recommend for the first boot to be made under the supply of a capable AC-DC charger, a HDMI screen, a keyboard and the camera module if need it. Other kinds of power supplies as batteries can be used and the screen and keyboard are not essential to the Raspberry Pi; but for the first test of the system and its configuration it is demanding.
After the instalation and the first boot follow the next steps:
- Configure your Wi-Fi dongle or ethernet cable and connect to your local net.
- Open a terminal and check your internet connectionand IP.
- Check for updates and upgrade your system.
- Run sudo raspi-config on the terminal
- Select SSH, Enable SSH.
- Select Enable Camera and Finish but do not reboot.
- Run:
- sudo apt-get install tightvncserver
- sudo apt-get install libjpeg8-dev imagemagick libv4l-dev
- sudo ln -s /usr/include/linux/videodev2.h /usr/include/linux/videodev.h
- wget http://sourceforge.net/code-snapshots/svn/m/mj/mjpg-streamer/code/mjpg-streamer-code-182.zip
- unzip mjpg-streamer-code-182.zip
- cd mjpg-streamer-code-182/mjpg-streamer
- make mjpg_streamer input_file.so output_http.so
- sudo cp mjpg_streamer /usr/local/bin
- sudo cp output_http.so input_file.so /usr/local/lib/
- sudo cp -R www /usr/local/www
Automation for the VNC server
- Create a file in Home with the following content:
#!/bin/sh
vncserver :0 -geometry 1920×1080 -depth 24 -dpi 96
- Save the file as vnc.sh
- Make the file executable chmod +x vnc.sh
- To enable the VNC server to run at boot do:
- sudo su
- cd /etc/init.d/
- Create a file in with the following content:
#! /bin/sh
# /etc/init.d/vncboot

### BEGIN INIT INFO
# Provides: vncboot
# Required-Start: $remote_fs $syslog
# Required-Stop: $remote_fs $syslog
# Default-Start: 2 3 4 5
# Default-Stop: 0 1 6
# Short-Description: Start VNC Server at boot time
# Description: Start VNC Server at boot time.
### END INIT INFO

USER=pi
HOME=/home/pi

export USER HOME

case "$1" in
 start)
  echo "Starting VNC Server"
  #Insert your favoured settings for a VNC session
  su - pi -c "/usr/bin/vncserver :0 -geometry 1280x800 -depth 16 -pixelformat rgb565"
  ;;

 stop)
  echo "Stopping VNC Server"
  /usr/bin/vncserver -kill :0
  ;;

 *)
  echo "Usage: /etc/init.d/vncboot {start|stop}"
  exit 1
  ;;
esac

exit 0
- Save the file as vncboot
- Run chmod 755 vncboot
- Run update-rc.d /etc/init.d/vncboot defaults
- Run update-rc.d vncboot defaults
Start the camera streaming
- mkdir /tmp/stream
- raspistill –nopreview -w 640 -h 480 -q 5 -o /tmp/stream/pic.jpg -tl 100 -t 9999999 -th 0:0:0 &
- LD_LIBRARY_PATH=/usr/local/lib mjpg_streamer -i “input_file.so -f /tmp/stream -n pic.jpg” -o “output_http.so -w /usr/local/www”
Access the board
Assuming the board is now with no screen or keyboard, just the net connection …
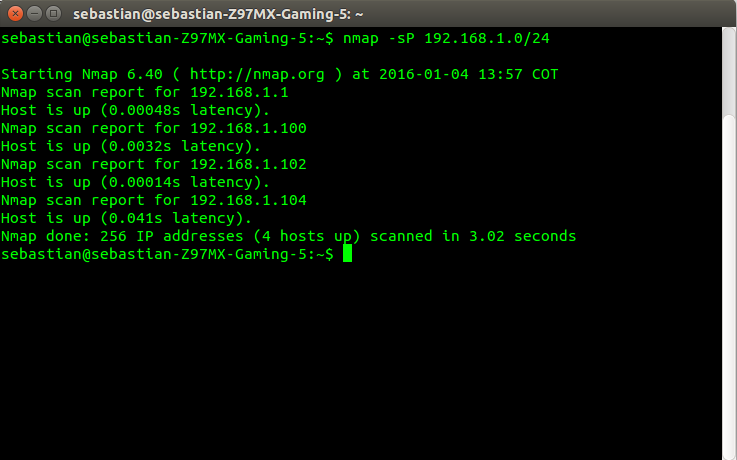
- Find out the Ip of the Raspberry Pi board:
- On a linux computer install nmap if necessary.
- Run nmap -sP 192.168.1.0/24
- install nmap if necessary
- Read the Ip’s on your local net and determine the board “IP number”.
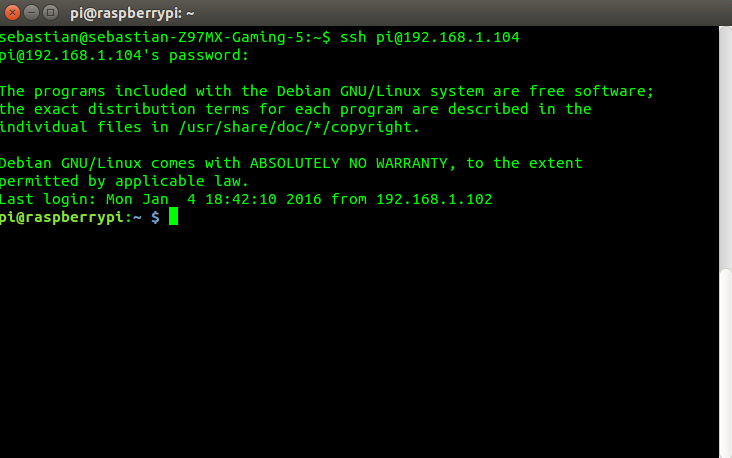
- Using SSH:
- Run ssh pi@”IP number”
- Password: raspberry
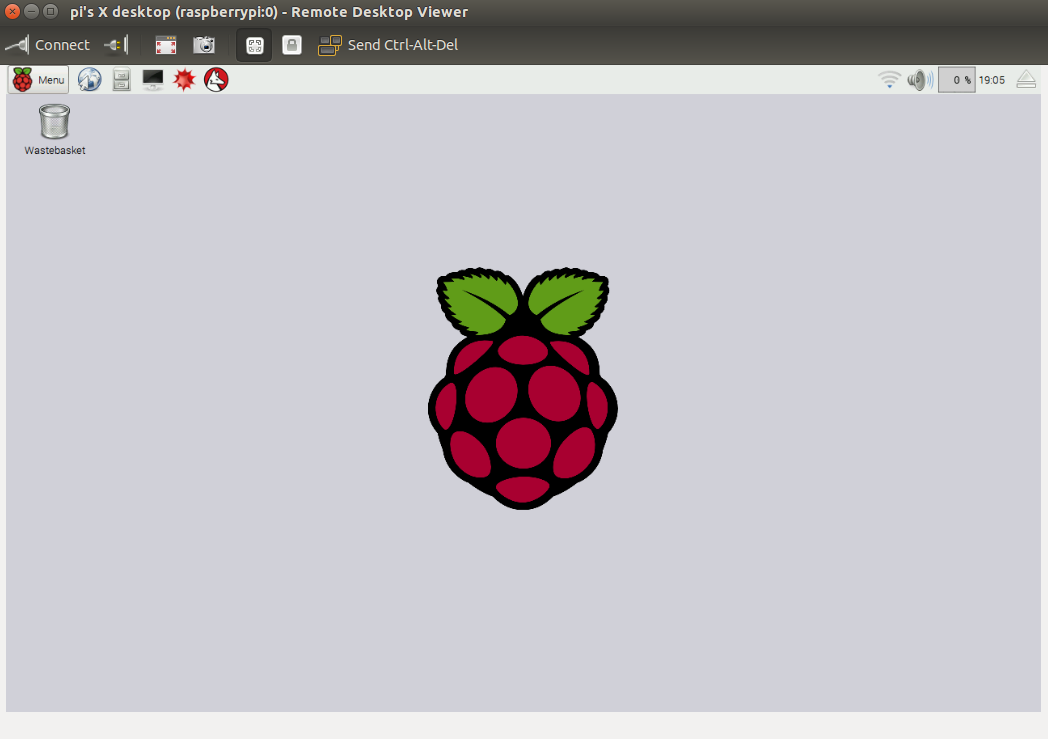
- Using VNC
- Open any VNC client, Vinagre for example.
- Connect to “IP number”.
- Password raspberry
- Using the Camera:
- Go to http://”IP number”
:8080
